
Call of Duty Black Ops 7 throws players into David Mason’s psychological battlefield, where reality blurs and squad tactics can make or break your mission. This Black Ops 7 gameplay guide breaks down the core experiences that define the campaign – from intense solo stealth sections to coordinated Specter One squad operations.
Designed for both newcomers and series veterans, this guide covers the tactical differences between solo and co-op gameplay modes, plus the survival strategies you need for the game’s signature hallucination missions. You’ll discover how Black Ops 7’s dual approach lets you tackle Kagan’s psychological warfare either as a lone operative or with your Specter One team.
We’ll walk you through mastering the solo campaign’s stealth mechanics and weapon upgrade systems, then dive into co-op coordination strategies that maximize your squad’s effectiveness on the Avalon map and beyond. Finally, you’ll learn how to navigate the game’s most challenging hallucination segments – those mind-bending sequences that separate Black Ops 7 from every other Call of Duty experience.
Solo Campaign Mastery Techniques

The Black Ops 7 campaign demands strategic weapon selection that adapts to different mission types. For stealth-heavy sections, prioritize suppressed assault rifles like the XM4 or AK-74, paired with a silenced pistol for close-quarters takedowns. The grapple gun becomes invaluable during vertical traversal missions, especially when infiltrating enemy compounds without triggering alarms.
Your primary loadout should balance range and versatility. Consider the LR7 Sniper for long-distance engagements during David Mason’s reconnaissance missions, while keeping an SMG as secondary for tight corridors. The shield bubble device proves essential during intense firefights, providing temporary cover when health runs low.
| Weapon Type | Recommended Choice | Best Use Case |
|---|---|---|
| Assault Rifle | XM4 (Suppressed) | Stealth missions |
| Sniper | LR7 | Long-range elimination |
| SMG | Jackal PDW | Close-quarters combat |
| Sidearm | 9mm PM | Silent takedowns |
Equipment slots should prioritize the Black Hat device for hacking enemy electronics and the kinetic jump ability for accessing elevated positions. These tools transform how you approach enemy encounters, turning linear missions into tactical puzzles with multiple solutions.
Advanced Stealth Mechanics to Avoid Enemy Detection
Mastering Black Ops 7’s stealth system requires understanding enemy AI patterns and environmental advantages. Guards follow predictable patrol routes, but they react dynamically to disturbances. Sound travels realistically through different materials – walking on metal surfaces generates more noise than grass or carpet.
The wingsuit integration allows for silent aerial insertions, perfect for bypassing ground-level security. Time your deployments during guard rotations to maximize infiltration windows. Enemy vision cones operate on a three-tier system: white (unaware), yellow (suspicious), and red (hostile). You have approximately three seconds to break line of sight once guards enter yellow status.
Use environmental distractions strategically. Throwing objects creates temporary diversions, while hacking security cameras with the Black Hat device turns surveillance systems against enemies. The hallucination missions introduce unique stealth challenges where reality shifts, requiring constant adaptation to changing environments.
Shadow positioning becomes critical during solo campaign progression. Stay crouched near walls and use natural cover like vegetation or structural debris. Moving during ambient noise – explosions, machinery, or weather effects – masks your footsteps effectively.
Resource Management Strategies for Ammunition and Health
Solo campaign success hinges on efficient resource conservation throughout extended missions. Ammunition scarcity intensifies during later stages, making every shot count. Prioritize headshots to maximize damage efficiency and conserve bullets for prolonged engagements.
Health regeneration works on a segment-based system rather than full recovery. Taking cover allows partial healing, but medical kits provide complete restoration. Save medical supplies for critical moments when facing multiple enemies or during boss encounters with Kagan’s forces.
Scavenge systematically after each encounter. Enemy weapons often contain different ammunition types, allowing loadout flexibility mid-mission. The Guild’s weapon caches appear in hidden locations – look for subtle environmental markers like scratched walls or unusual lighting.
Resource Priority List:
-
Medical kits (save for emergencies)
-
Ammunition for primary weapons
-
Grenades and explosives
-
Equipment upgrades and attachments
-
Intel documents (unlock weapon upgrades)
Weapon upgrades significantly impact resource efficiency. Upgraded weapons deal more damage, reducing ammunition consumption per kill. Focus upgrade points on weapons you use most frequently rather than spreading improvements across multiple firearms.
Key Checkpoints and Save Game Tactics
The Black Ops 7 campaign features both automatic checkpoints and manual save opportunities. Understanding checkpoint placement helps optimize risk-taking during difficult sections. Most stealth sequences include checkpoints before and after major infiltration phases, allowing experimentation with different approaches.
Save manually before attempting risky maneuvers like wingsuit deployments or multi-target elimination sequences. The game’s checkpoint system activates after completing major objectives, clearing rooms of enemies, or reaching narrative milestones.
Some Specter One squad missions include mid-mission saves that preserve equipment loadouts and health status. These become crucial during extended co-op sessions where team coordination affects individual progress.
Critical Save Points:
-
Before boss encounters
-
After acquiring rare weapon upgrades
-
Prior to branching mission paths
-
Following major story revelations
Mission replay functionality allows revisiting specific chapters while retaining weapon upgrades and progression. Use this feature to perfect stealth runs or experiment with different loadout combinations without affecting main campaign progress.
Co-op Strategy and Team Coordination
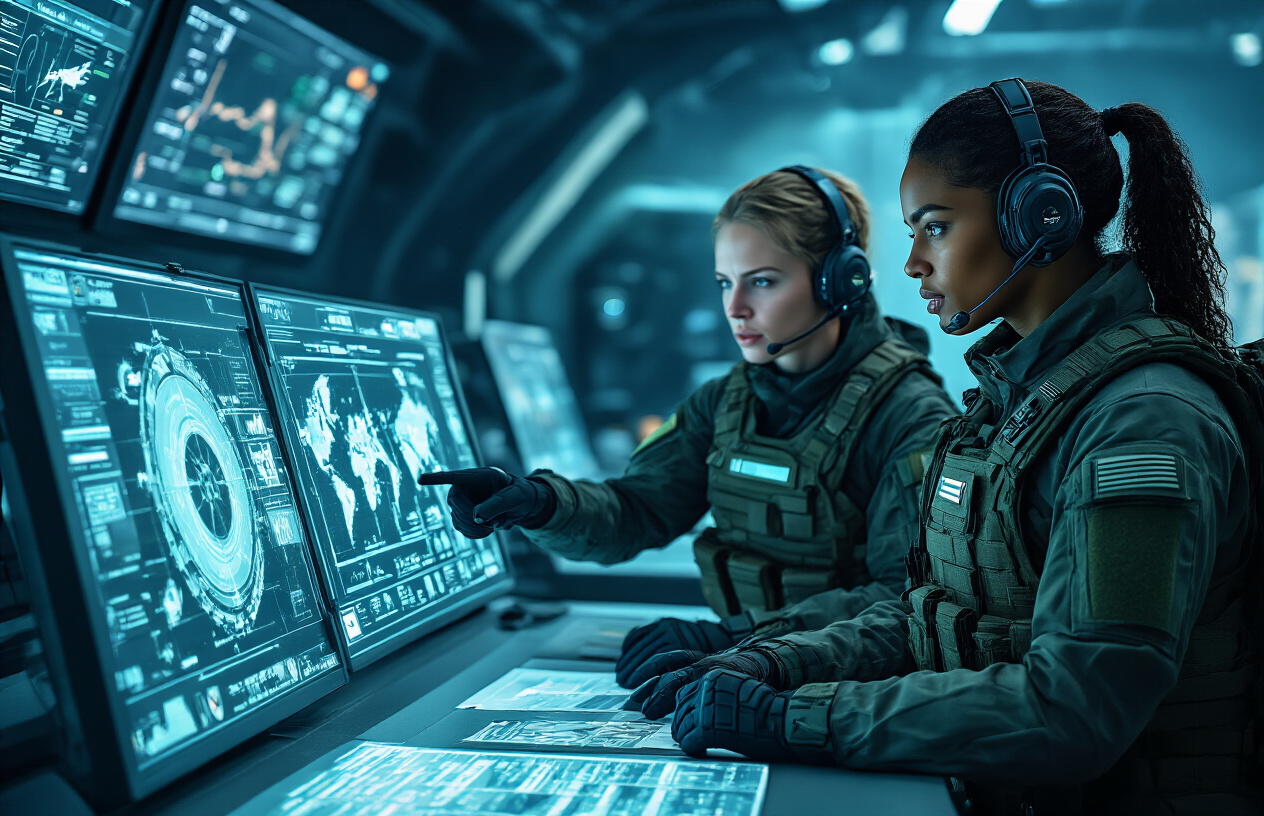
Voice chat remains the cornerstone of successful Black Ops 7 co-op gameplay. The game’s fast-paced nature demands real-time communication, especially during intense Specter One squad missions where split-second decisions determine success or failure. Most experienced players rely on clear, concise callouts using consistent terminology throughout their session.
The in-game ping system works exceptionally well for marking enemy positions, objectives, and loot spawns across the Avalon map. Players can double-tap the ping button to indicate urgent threats or hold it down to access contextual commands like “regroup here” or “watch this angle.” This visual communication proves invaluable when voice chat isn’t available or during chaotic firefights where verbal communication becomes difficult.
Text chat serves as a backup for strategic planning between combat encounters. Many teams use it to discuss loadout changes, coordinate weapon upgrades, or plan approach routes for upcoming objectives. The key is establishing communication protocols before starting your campaign – decide who calls out enemy movements, who manages tactical equipment deployment, and who takes point during room clearing operations.
Role assignment and specialization benefits
Call of Duty Black Ops 7 rewards teams that embrace specialized roles rather than having everyone play identically. The assault specialist typically carries close-range weapons and leads room clearing operations, utilizing tools like the shield bubble to protect the team during aggressive pushes. This player focuses on eliminating enemies quickly while creating space for teammates to advance.
Support specialists excel at managing team resources and providing overwatch. They prioritize weapon upgrades for the entire squad, deploy the Black Hat device strategically, and maintain longer-range firing positions. Support players often carry extra ammunition and medical supplies, ensuring the team stays combat-ready throughout extended missions.
The reconnaissance role suits players who enjoy tactical gameplay and map awareness. These specialists use the grapple gun and wingsuit to reach elevated positions, scout ahead for enemy positions, and identify optimal routes through complex mission areas. They communicate enemy patrol patterns and highlight potential ambush spots before the team commits to specific approaches.
Flexible role assignment allows teams to adapt mid-mission. During hallucination missions, roles might shift as the environment changes unpredictably. The player most comfortable with the altered mechanics temporarily takes point, while others provide support until normal gameplay resumes.
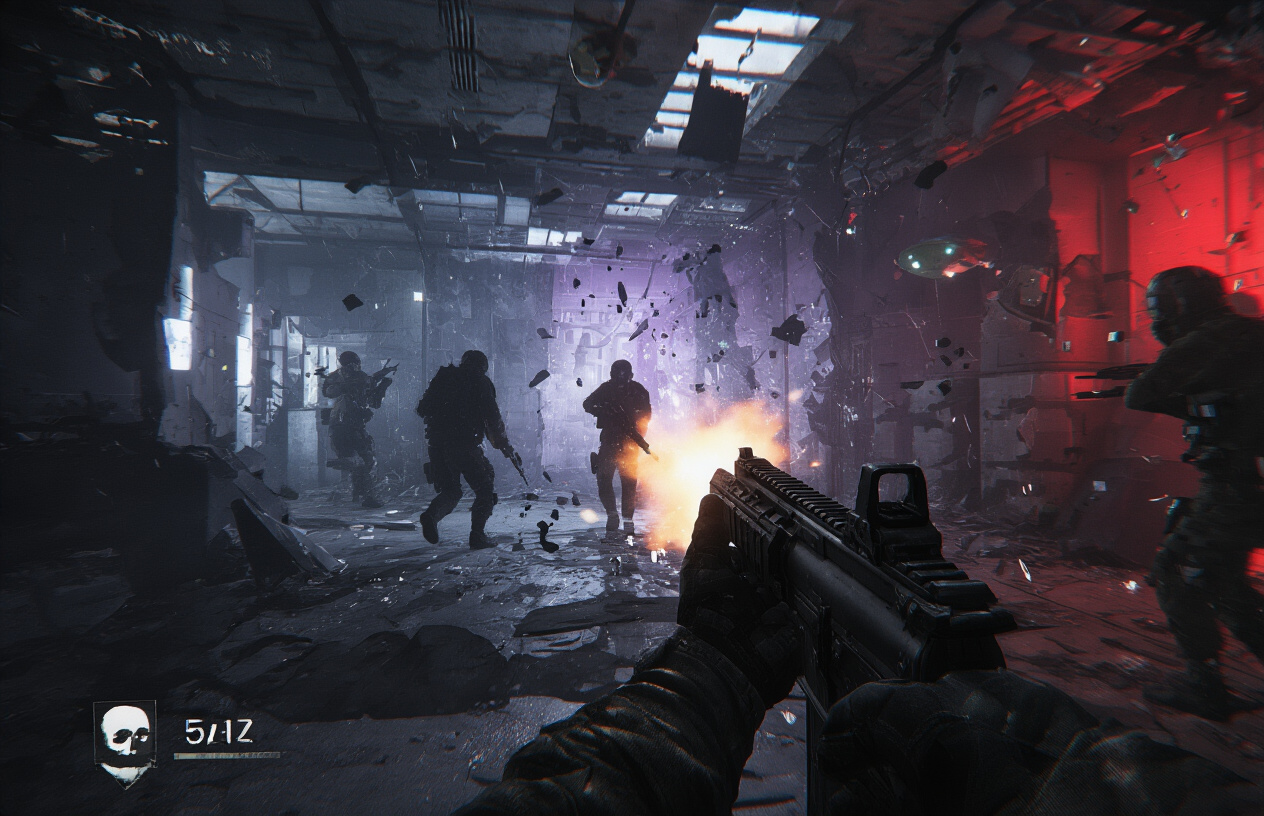
Synchronized attack patterns for maximum efficiency
Coordinated breaching creates the most devastating opening moments in any engagement. Teams should count down together before simultaneous entry through multiple access points. One player takes the primary entrance while another uses the kinetic jump ability to access upper-level windows or alternative routes. This forces enemies to divide their attention and creates immediate tactical advantages.
The “leap-frog” advancement pattern works exceptionally well during linear mission segments. One player advances to cover while teammates provide overwatch, then the next player moves past them to the subsequent position. This constant forward momentum prevents enemies from establishing defensive positions while ensuring someone always maintains a clear firing lane.
During PvE matches and larger combat encounters, the “anchor and sweep” technique proves highly effective. One player establishes a defensive position with heavy weapons or deployable shields, while others execute flanking maneuvers around enemy positions. The anchor player draws enemy attention and provides suppressive fire, allowing the sweep team to eliminate threats from unexpected angles.
Timing equipment deployment creates powerful combination effects. Coordinate shield bubble activation with aggressive pushes, or combine Black Hat device usage with flanking movements. When one player deploys a tactical advantage, teammates should immediately capitalize on the opening rather than waiting for perfect conditions that may never materialize.
Understanding and Surviving Hallucination Sequences
Black Ops 7 hallucination segments can leave even seasoned players questioning what’s real. The game deliberately blurs the line between David Mason’s perception and actual events, but subtle visual indicators help you stay grounded. Watch for environmental inconsistencies like objects appearing and disappearing between frames, lighting that shifts without logical source changes, or familiar faces showing up in impossible situations.
The most reliable tell is the HUD behavior during Black Ops 7 hallucination segments. Your health bar may flicker, ammo counters display impossible numbers, or the compass spins erratically. Audio distortion often accompanies these visual glitches – voices echoing unnaturally or background sounds cutting out abruptly signal you’re experiencing David’s fractured mental state.
Pay attention to recurring symbols and imagery that appear throughout the campaign. The Guild’s iconography frequently manifests during psychological episodes, while faces of deceased characters from previous missions might appear in crowds or reflections. These elements serve as breadcrumbs, helping you distinguish between genuine threats and manifestations of David’s trauma.
Combat Strategies During Disorienting Hallucination Events
Fighting during hallucination missions requires a completely different approach than standard Black Ops 7 campaign encounters. Your first instinct might be to engage every threat you see, but phantom enemies waste precious ammunition and expose you to real dangers lurking nearby.
Create a mental checkpoint system by focusing on concrete environmental markers – specific doorways, distinct wall textures, or unique debris patterns. These anchors help you maintain spatial awareness when the world starts shifting around you. During combat, prioritize enemies that interact with the environment in consistent ways. Real opponents will knock over objects, leave bullet impacts, and cast shadows that match the lighting conditions.
The grapple gun becomes invaluable during these sequences. Use it to quickly relocate when you’re unsure about enemy positions or when the environment seems to be working against you. Vertical movement often breaks the illusion’s hold temporarily, giving you a clearer perspective on actual threats versus psychological projections.
Team coordination becomes critical in co-op gameplay during these segments. Assign one player to call out confirmed enemy positions while others focus on navigation. This buddy system prevents the entire squad from chasing phantoms while real threats flank your position.
Mental Clarity Techniques to Maintain Focus
Developing mental resilience against Black Ops 7’s psychological warfare starts with pattern recognition. David Mason’s hallucinations often follow predictable triggers – entering specific room types, encountering certain enemy factions, or interacting with particular objects. Learning these patterns helps you prepare mentally before entering vulnerable states.
Practice the “three-point check” method: identify three distinct real objects in your immediate vicinity and return to them whenever disorientation sets in. This grounding technique works especially well in the more intense hallucination-heavy sections where reality becomes completely fluid.
Your inventory provides another stability anchor. Real weapons maintain consistent stats and behavior, while illusory equipment might display impossible upgrade levels or fire rounds that don’t register damage. Stick to equipment you’ve personally upgraded and modified – these items remain consistent even when everything else becomes unreliable.
Audio cues often remain more reliable than visual information during psychological episodes. Frank Woods’ voice maintains distinct tonal qualities that separate genuine communications from hallucinatory conversations. Learn to distinguish between his actual radio chatter and the distorted versions that appear during mental breaks.
Equipment Recommendations for Hallucination-Heavy Sections
The Shield Bubble device proves essential for surviving reality-bending encounters. Its energy field provides consistent feedback about your actual position and orientation, even when visual cues become unreliable. The bubble’s edges remain sharp and clearly defined, offering a stable reference point when the environment shifts unpredictably.
Weapon upgrades focusing on stability and reliability outperform high-damage modifications in these sections. Choose attachments that provide consistent performance rather than situational bonuses. Red dot sights work better than variable scopes because they maintain the same sight picture regardless of environmental distortion.
The Black Hat device offers unique advantages during psychological segments. Its scanning function can help identify real interactive elements versus hallucinatory props. Objects that register on the device’s scanner typically represent genuine environmental features you can trust.
Pack extra ammunition for your most reliable weapons rather than experimenting with exotic gear found during missions. Hallucination sequences often extend longer than expected, and running dry on trusted equipment while carrying potentially illusory weapons creates unnecessary risk.
Night vision equipment becomes doubly important in these sections. While hallucinations can manipulate lighting conditions, night vision provides consistent environmental readouts that help separate actual geometry from psychological projections. The green-tinted view strips away many visual tricks that rely on color manipulation and atmospheric effects.
Specter One Mission Breakdown and Walkthrough
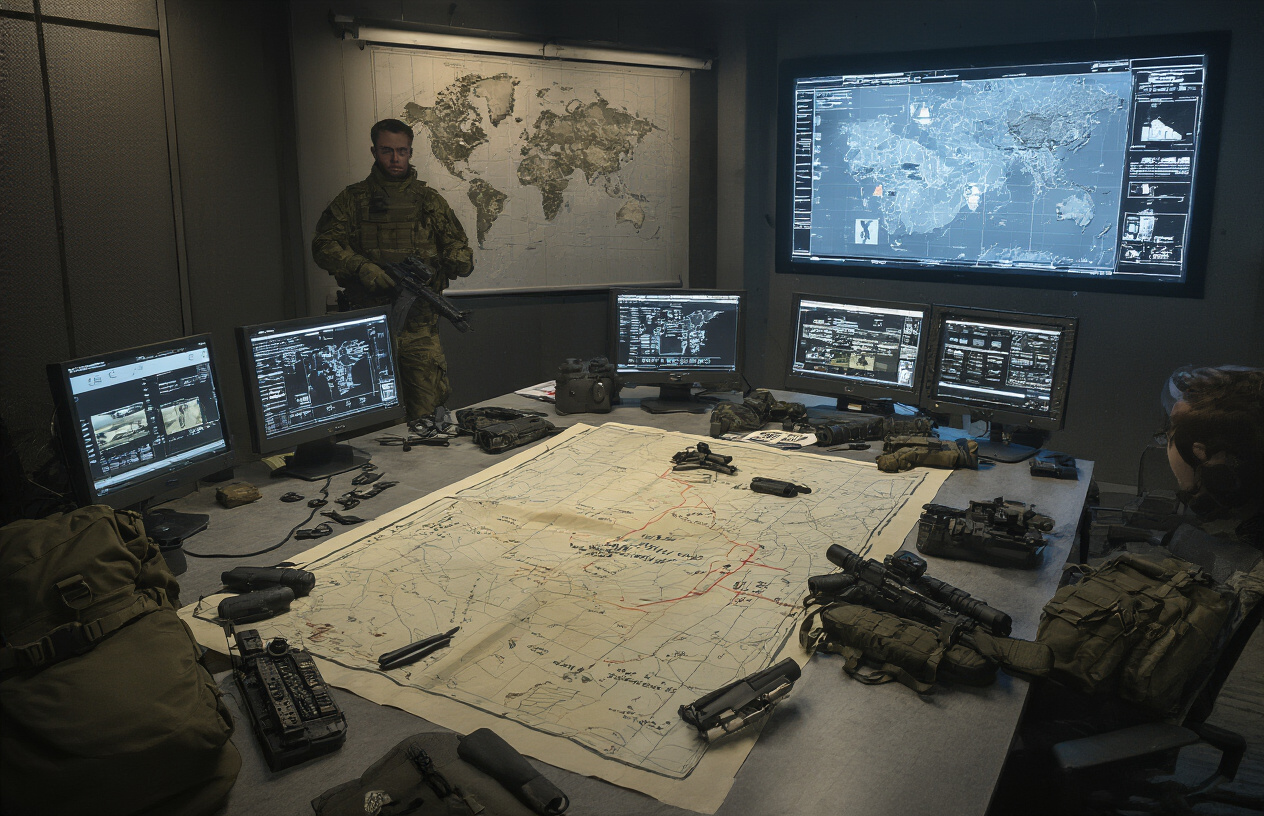
The Specter One squad faces their most challenging assignment in this pivotal Black Ops 7 mission. Your primary objective centers on neutralizing high-value targets while maintaining operational stealth. The mission begins with identifying Kagan’s inner circle through digital reconnaissance and field surveillance.
Target priorities break down into three categories: Alpha targets (mission-critical eliminations), Beta targets (intelligence assets), and Gamma targets (disruption operations). The Alpha target always appears marked with a red diamond indicator, while Beta targets show yellow markers. Use your tactical visor to scan environments continuously – missed target identification can trigger alarm states that complicate extraction.
David Mason players should focus on the main objective marker, but co-op teams can split responsibilities. One player handles target elimination while another secures intel packages. The mission timer doesn’t start until you breach the compound’s outer perimeter, giving you plenty of time for reconnaissance.
Infiltration Routes and Alternative Pathways
Three distinct infiltration approaches offer different tactical advantages. The northern route requires your grapple gun to scale the communications tower, providing overwatch positions but exposing you to sniper fire. The eastern approach uses underground maintenance tunnels – darker and safer, but with limited escape options if detected.
The western route proves most versatile for co-op gameplay. Two entry points allow simultaneous breaches while maintaining communication. Use your wingsuit deployment from the cliff face to bypass ground-level security entirely. This aerial approach works best during the storm weather pattern that occurs 8-12 minutes into the mission.
Alternative pathways unlock after completing secondary objectives. The service elevator becomes accessible once you disable the power grid, while the ventilation system opens after hacking the central computer terminal. These backup routes prove crucial during speed runs or when primary routes become compromised.
Boss Encounter Strategies and Weak Point Exploitation
The final confrontation with Kagan’s lieutenant requires patience and tactical awareness. This boss features three distinct phases, each demanding different approaches. Phase one focuses on his shield bubble technology – target the power cells on his back using precision weapons or explosive devices.
During phase two, he deploys automated turrets that require immediate attention. Use your Black Hat device to temporarily disable them while focusing fire on the boss’s exposed chest piece. The weak point glows orange when vulnerable, giving you approximately 4-second windows for maximum damage.
Phase three introduces environmental hazards. Stay mobile using kinetic jump abilities while targeting his helmet’s targeting system. Co-op teams should coordinate attacks – one player draws aggro while others focus fire on weak points. Solo players can use the pillars for cover while cycling between different weapon types.
Hidden Collectibles and Bonus Objective Completion
Seven intel packages hide throughout the mission area. The first sits behind the generator room’s false wall – punch through the damaged section to access it. Package two requires solving the computer terminal puzzle in the security office, while package three needs the keycard from the eliminated Alpha target.
Bonus objectives include photographing three specific documents, rescuing the captured informant, and destroying all surveillance equipment. The informant location changes based on your infiltration route choice. Use your scanner to identify bonus objective items – they appear with blue highlighting.
The golden loot crate contains rare weapon upgrades and appears only after completing all bonus objectives within the time limit. This crate’s location varies between the armory, communications center, or executive office depending on your completion order.
Time-Based Challenges and Speed Run Techniques
Speed runs demand specific route optimization and equipment choices. Equip the lightweight loadout with enhanced mobility gear for fastest movement speeds. Skip all optional encounters except those that provide necessary keycards or access codes.
The world record route uses the northern grapple approach, eliminating only the Alpha target while ignoring collectibles. Master the grapple-swing-wingsuit combo to traverse the compound in under 90 seconds. Practice the boss encounter using only explosive devices to reduce fight duration to approximately 2 minutes.
Advanced speed runners exploit the elevator glitch near the communications array. Activate the elevator call button while simultaneously using kinetic jump – this launches you directly to the upper levels, bypassing entire security sections. This technique saves roughly 3-4 minutes but requires precise timing execution.
Equipment and Upgrade Optimization
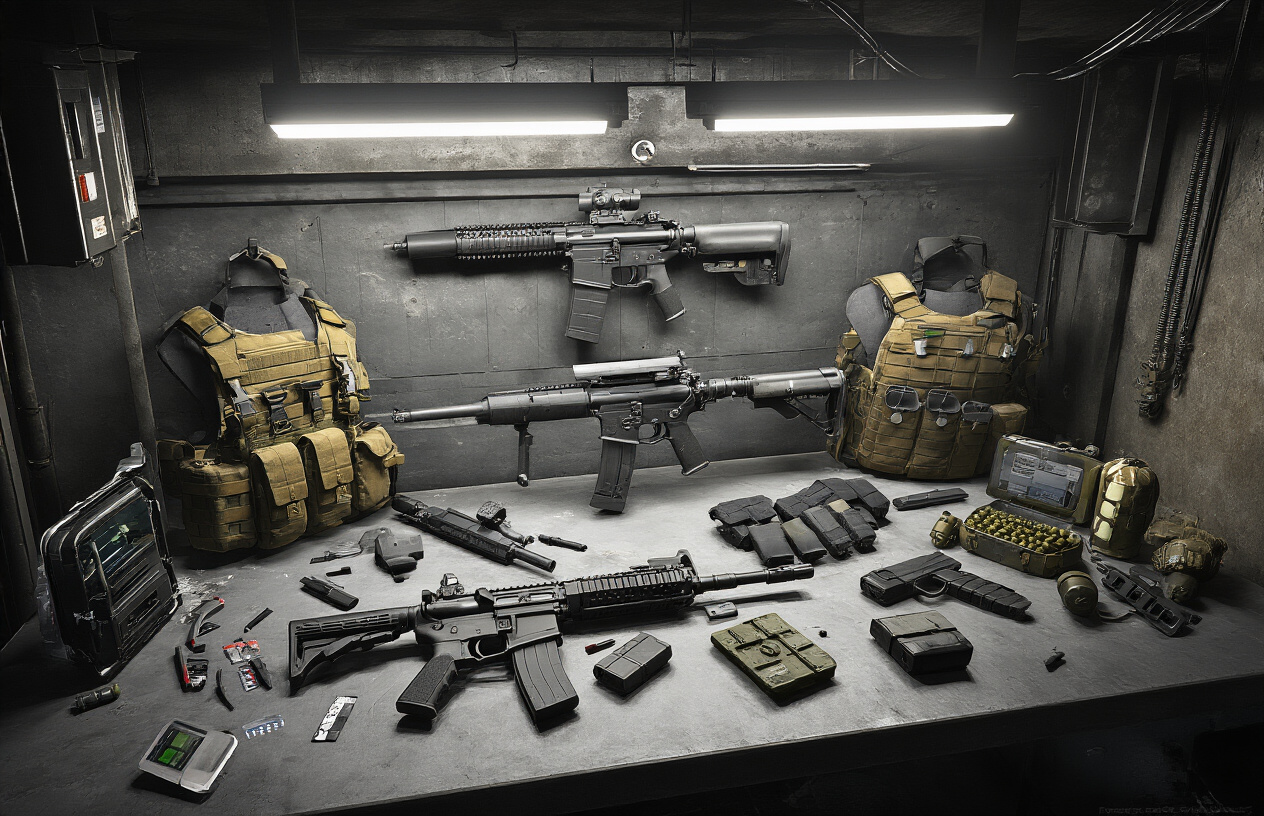
Building the perfect loadout in Black Ops 7 depends entirely on your preferred approach to combat. For aggressive players who favor close-quarters engagement, pairing assault rifles with extended magazines and rapid-fire triggers creates devastating room-clearing potential. The weapon upgrades system allows stacking of complementary modifications – consider combining muzzle brakes with tactical grips for enhanced control during sustained fire.
Stealth-focused players benefit from suppressors paired with enhanced scopes and stability modifications. The Black Ops 7 campaign rewards patience, especially during linear missions where enemy patrol patterns become predictable. Sniper rifles with thermal optics and penetration rounds excel in these scenarios, while SMGs equipped with silencers handle close-range cleanup work.
For players tackling co-op gameplay scenarios, support-oriented builds shine. LMGs with bipods and armor-piercing rounds provide excellent overwatch capabilities, while shotguns modified with breaching charges offer utility beyond raw damage output. The Specter One squad missions particularly benefit from diverse weapon configurations across team members.
Recommended Modification Combinations:
| Playstyle | Primary Weapon | Key Modifications | Secondary Focus |
|---|---|---|---|
| Aggressive | Assault Rifle | Extended Mag + Rapid Fire | Close-range backup |
| Stealth | Sniper Rifle | Suppressor + Thermal Scope | Silent secondary |
| Support | LMG | Bipod + Armor Piercing | Utility focus |
Armor and defensive gear selection criteria
Defensive gear choices directly impact your survival during intense firefights and hallucination missions. Heavy armor provides maximum protection but reduces mobility – perfect for players who prefer defensive positions during co-op missions. The trade-off becomes apparent when navigating the more dynamic Avalon map sections where movement speed matters.
Medium armor strikes the ideal balance for most players, offering reasonable protection while maintaining agility for tactical maneuvers. This configuration works exceptionally well during David Mason’s solo campaign segments where adaptability trumps pure defensive stats. The armor’s damage reduction percentages scale with upgrade levels, making investment in defensive gear worthwhile for extended play sessions.
Light armor suits hit-and-run tactics perfectly. Players who excel at using environmental cover and the grapple gun for positioning find light armor’s mobility bonuses invaluable. The reduced weight allows for faster wingsuit deployment and more responsive kinetic jump mechanics.
Armor Selection Guide:
-
Heavy Armor: Choose for stationary defense roles, Endgame mode survival
-
Medium Armor: Ideal for balanced gameplay across all mission types
-
Light Armor: Perfect for mobility-focused builds and stealth approaches
Gadget utilization for tactical advantages
Gadgets transform Black Ops 7’s tactical landscape when used strategically. The shield bubble device creates temporary safe zones during overwhelming firefights, particularly valuable in co-op scenarios where reviving teammates becomes critical. Position these bubbles near chokepoints or objectives to maximize their defensive potential.
The Black Hat device excels at electronic warfare, disabling enemy equipment and hijacking automated defenses. Smart players use this gadget during hallucination segments where reality becomes questionable – the device often reveals which threats are genuine versus psychological manifestations.
Explosive gadgets like C4 and proximity mines control battlefield flow effectively. During Specter One missions, coordinated explosive placement can eliminate entire enemy squads before engagement begins. The key lies in understanding enemy movement patterns and placing explosives along predicted routes.
Movement gadgets deserve special attention. The grapple gun opens vertical gameplay opportunities, allowing access to elevated positions that provide tactical advantages. Combine grappling with the wingsuit for rapid repositioning during heated battles. The kinetic jump enhances close-quarters combat by enabling surprise attacks from unexpected angles.
Essential Gadget Combinations:
-
Shield Bubble + Black Hat: Electronic warfare specialist
-
Grapple Gun + Wingsuit: Mobility master setup
-
C4 + Motion Sensor: Area denial configuration
-
Smoke Grenades + Thermal Scope: Stealth engagement build
Mastering gadget timing separates skilled players from novices. Deploy defensive gadgets before engagements, not during them. Use offensive gadgets to create opportunities rather than react to threats.

Ready to dominate the battlefield? Start with the campaign missions to build your skills, then jump into co-op with friends who communicate well and share your commitment to teamwork. Remember that every piece of equipment you upgrade and every strategy you master will pay dividends in the tougher missions ahead. The world of Black Ops 7 is waiting for you to make your mark.